Create and use custom fields
Store extra info about each contact — and use it to personalise emails.
Out of the box, a contact has an email, a first name and a last name. Custom fields let you store anything else you want about a person — their company, plan, city, signup date, and so on — and then use it to personalise and target your emails.
Step 1 — Open custom fields
- Go to Settings → Custom fields.
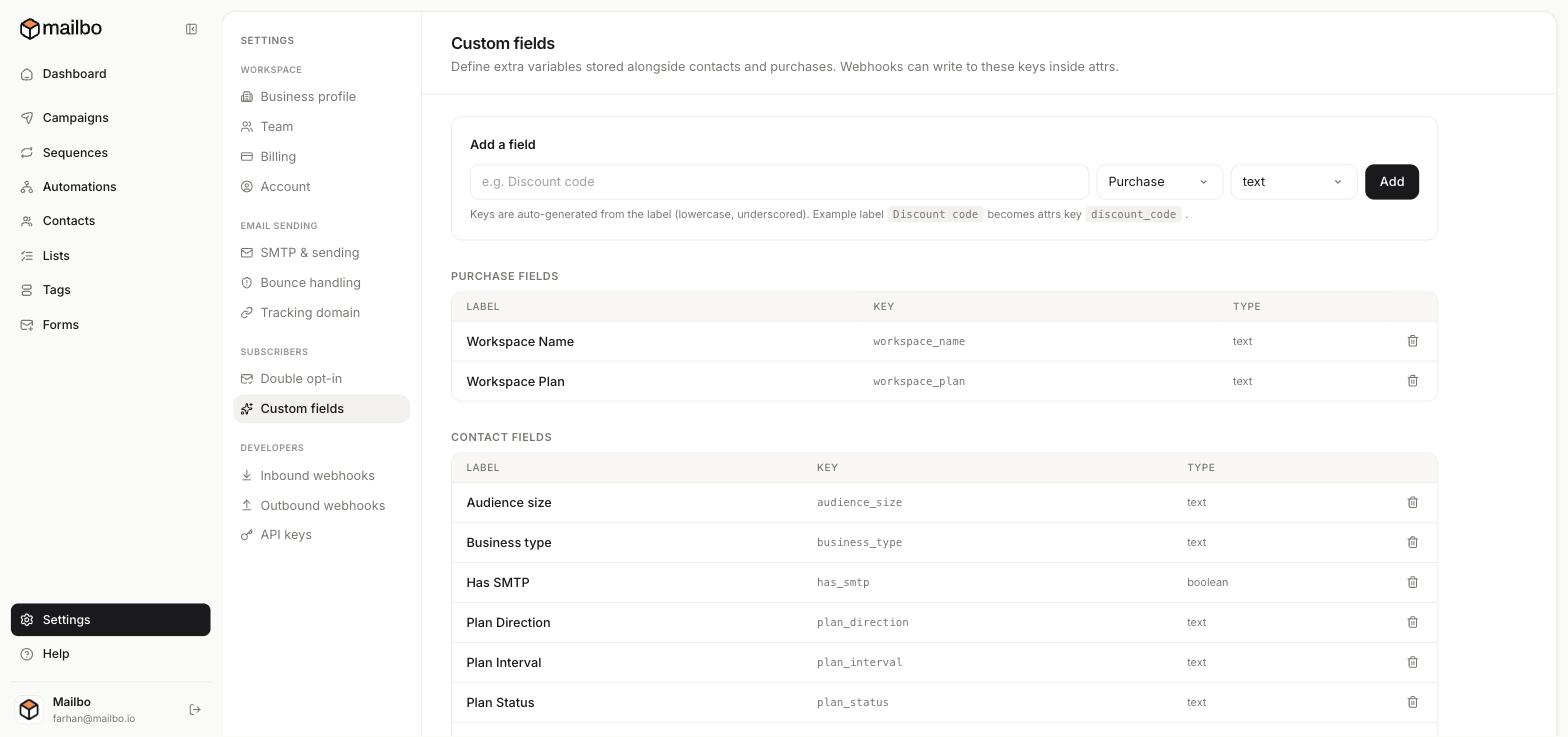
Step 2 — Add a field
In the Add a field row:
- Type a label — e.g.
CompanyorDiscount code. - Choose the scope: Contact (info about a person) or Purchase (info about a sale).
- Choose the type:
text,boolean(yes/no), and so on. - Click Add.
About the key: Mailbo auto-generates a key from your label by lower-casing it and replacing spaces with underscores. So Discount code becomes the key
discount_code. You'll use this key for personalisation and via the API.
Step 3 — Fill the field with data
Custom fields get values from any of these:
- CSV import — map a spreadsheet column to the field.
- Signup forms — add a custom field to a form.
- The API or webhooks — write to the field's key inside the contact's
attrs. - By hand — on an individual contact's profile.
Step 4 — Use it in an email
Reference a field with double curly braces using its key — for example:
Hi {{first_name}}, your code is {{discount_code}}.
Mailbo swaps in each contact's real value when the email sends. If a contact has no value, that part comes out blank — so it's good practice to write fallbacks where it matters.
Next: Segment your audience