Add your first contact
Add a single subscriber by hand — the fastest way to learn the screen.
A contact (or subscriber) is one person on your list. Before importing a whole spreadsheet, it's worth adding one by hand so you understand how contacts work. It takes about 30 seconds.
Step 1 — Open the Add contact screen
- Click Contacts in the left menu.
- Click the Add contact button in the top-right.
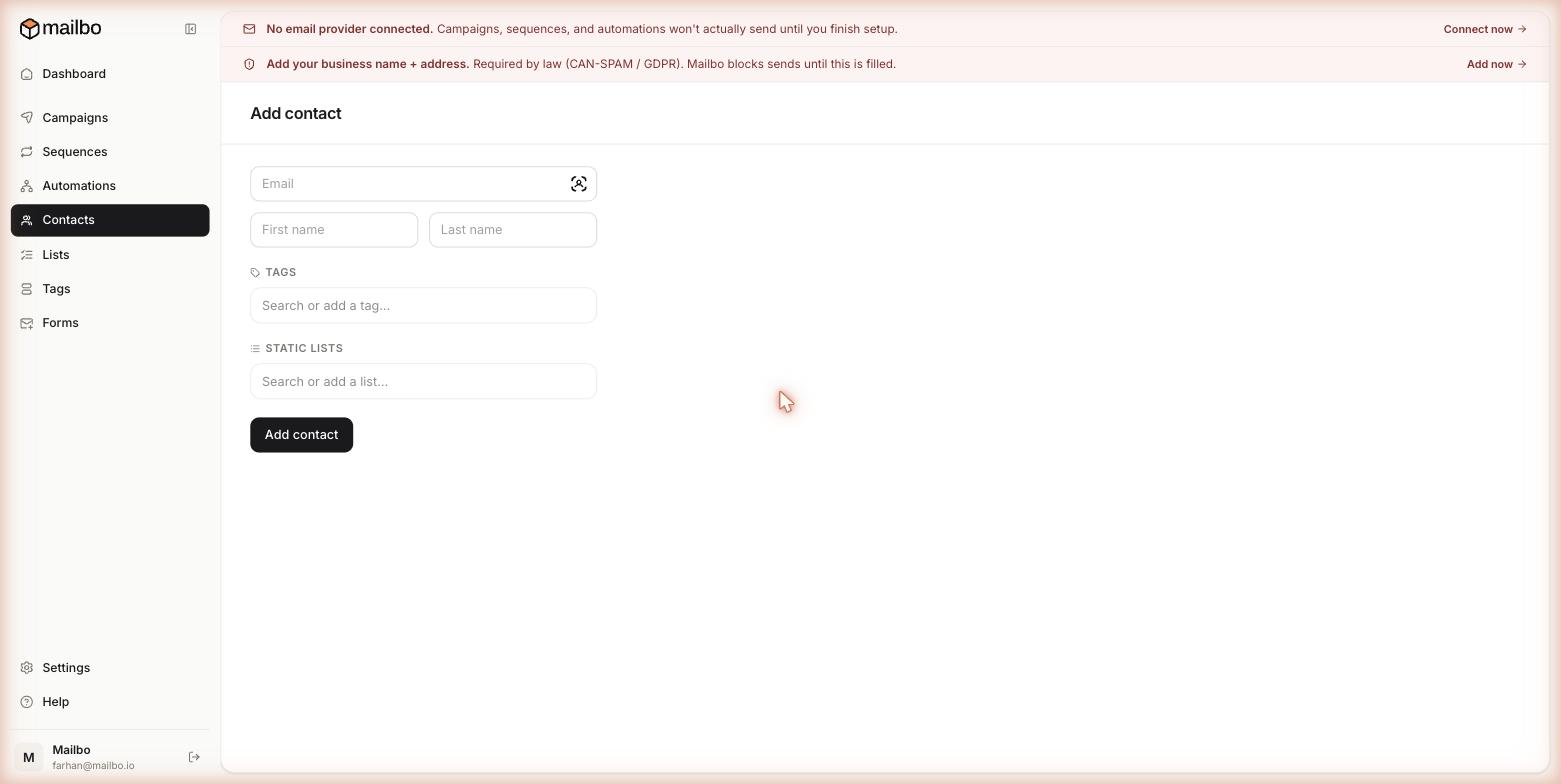
Step 2 — Enter the details
- Email (required) — the address the email is sent to. This is the only field you truly must fill in. Mailbo uses email to identify a contact, so it must be unique.
- First name and Last name (optional) — used for personalisation later (e.g. "Hi {{first_name}}"). Worth adding if you have them.
Step 3 — Organise the contact (optional, but smart)
- Tags — type in the Search or add a tag… box. Start typing to reuse an existing tag, or type a new name to create one on the spot. Tags are the main way you'll target emails later.
- Static lists — type in the Search or add a list… box to drop this person into a fixed group like "Newsletter."
Tags vs Lists in one line: a tag describes what someone is or did (
customer,clicked-pricing); a static list is a bucket you put people in. You can use both, one, or neither. See Tags vs Lists.
Step 4 — Save
Click Add contact. The person appears in your Contacts table right away with a status of Subscribed.
What's next
- Got a spreadsheet? Don't add people one by one — import a CSV.
- Want people to add themselves? Build a signup form.
- Ready to email them? Send your first campaign.
Still have a question?
Can't find what you need in this guide? We're happy to help.
Last updated 6/15/2026← More in Contacts, Tags & Lists