Create and send your first campaign
The full 5-step wizard — Title, Design, Audience, Sender, Review — start to finish.
A campaign is a single email sent to a group of people at one moment — a newsletter, an announcement, a sale. (For emails that send automatically after someone joins, use a Sequence instead.)
Before you can send, two things must be done or the send button stays locked: a sending provider must be connected, and your business name and address must be filled in. Mailbo shows a red banner for whichever is missing.
Mailbo walks you through 5 steps: Title → Design → Audience → Sender → Review. A progress bar at the top shows where you are; your work saves automatically as you go.
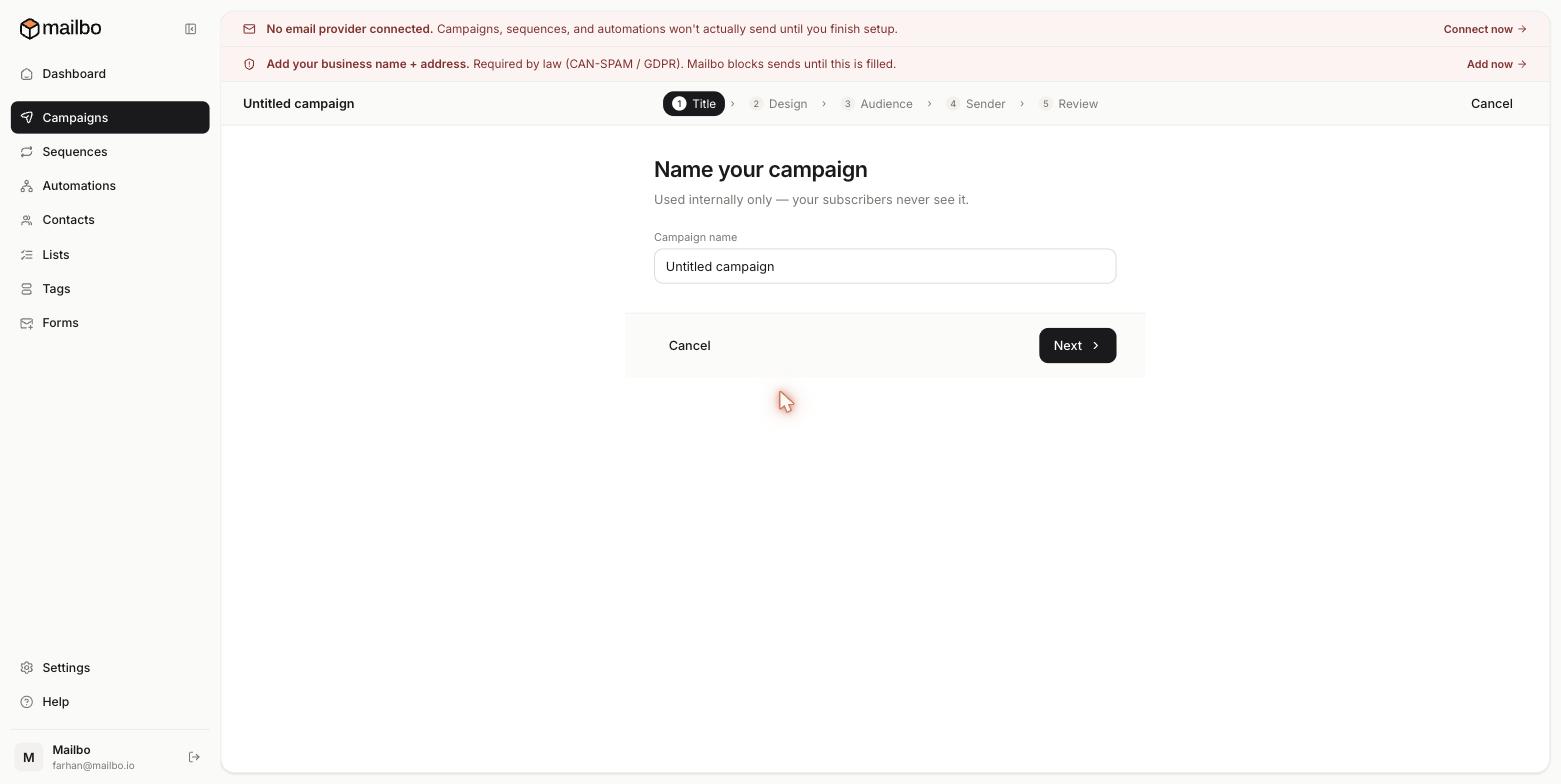
Step 1 — Title
- Click Campaigns, then Create campaign.
- Enter a Campaign name like "March Newsletter."
This name is internal only — your subscribers never see it. The line they do see is the subject, which you set in the next step. Click Next.
Step 2 — Design
This is where you write the email.
- Enter the Subject line — the single biggest factor in whether people open your email. Keep it short, specific and honest.
- Add a Preheader (preview text) — the one line shown next to the subject in the inbox. A good preheader noticeably lifts opens.
- Write the body in the editor. It's a simple block editor: just start typing, and type
/on a new line to insert blocks — images, buttons, dividers, headings and more. - Personalise with merge tags like
{{first_name}}. Mailbo replaces them with each person's real details when it sends. (See custom fields for more tags.) - Click Send test to email yourself a copy, or Preview to see it in-app.
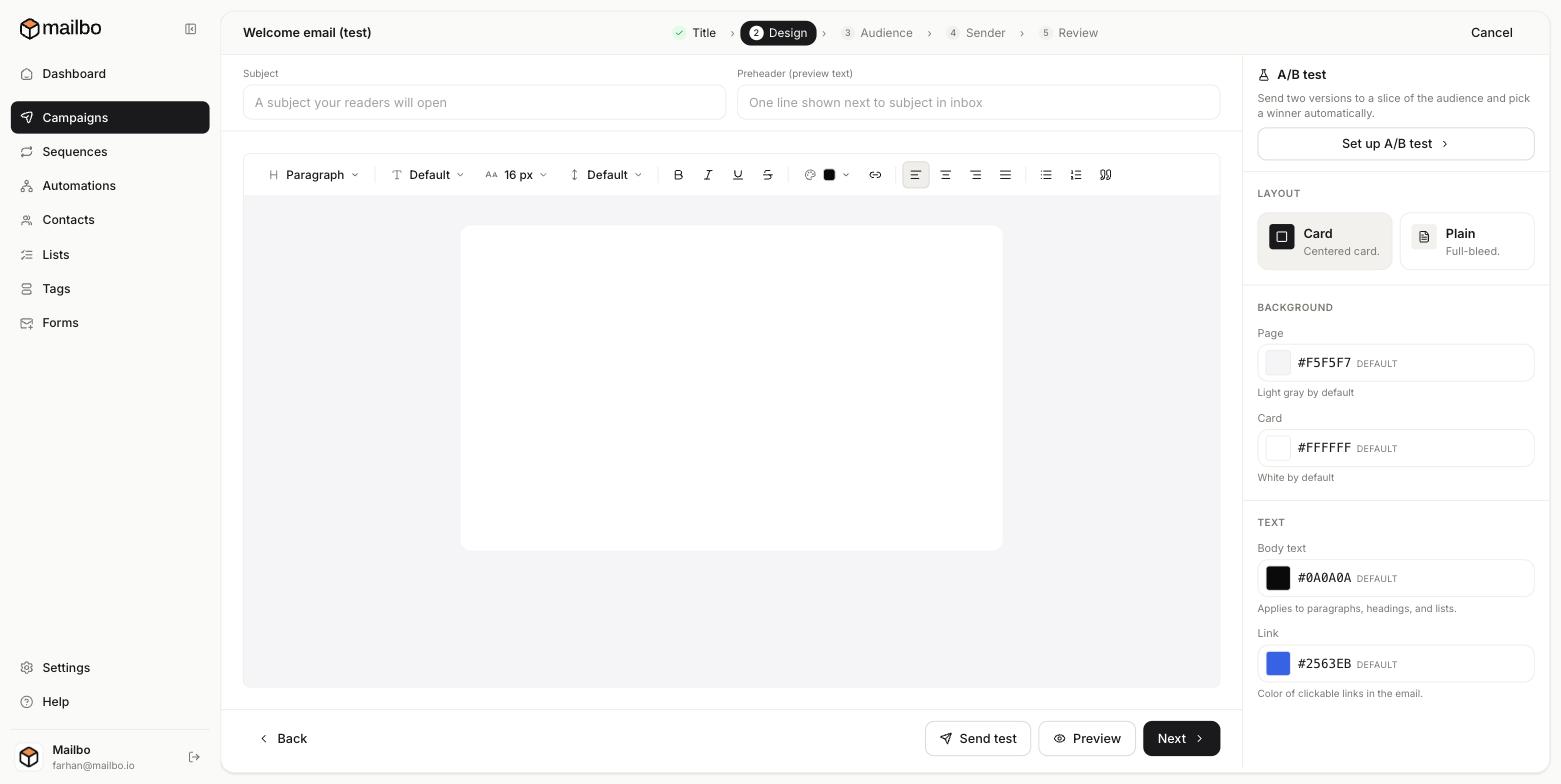
The panel on the right controls the look of the email:
- Layout — Card (a centered card) or Plain (full-bleed).
- Background — the page colour and the card colour.
- Text — body text colour and link colour.
- A/B test — click Set up A/B test to send two versions to a slice of your audience and auto-pick a winner (see A/B test a subject line).
Step 3 — Audience
Choose who receives this. You can target:
- a List,
- everyone with (or without) a certain Tag, or
- your whole subscribed audience,
- and narrow further by custom field filters.
Mailbo shows a live recipient count so you know exactly how many people you're about to email. Unsubscribed, bounced and unconfirmed contacts are removed automatically. (More in Segment your audience.)
Step 4 — Sender
Confirm the From name, From email and Reply-to. These default to what you set under Settings → SMTP & sending, but you can override them just for this campaign.
Step 5 — Review & send
Mailbo runs a final checklist — provider connected, business address present, subject not empty, audience not empty. Then choose:
- Send now, or
- Schedule for a specific date and time (see Schedule a campaign).
That's it. Opens, clicks and deliveries then roll in on the campaign's report page.
Common questions
Can I edit a campaign after sending? No — a sent email can't be recalled. That's exactly what Step 5 and the preview are for. Always send yourself a preview first.
Why is my recipient count lower than my total contacts? Unsubscribed, bounced and (if double opt-in is on) unconfirmed contacts are excluded from every send.